Welcome!

Hi there! My name is Patricia Kruep. I am a multi-faceted, hybrid designer/developer working primarily at the intersection of interactivity, design, code, and animation.
Hi there! My name is Patricia Kruep. I am a multi-faceted, hybrid designer/developer working primarily at the intersection of interactivity, design, code, and animation.
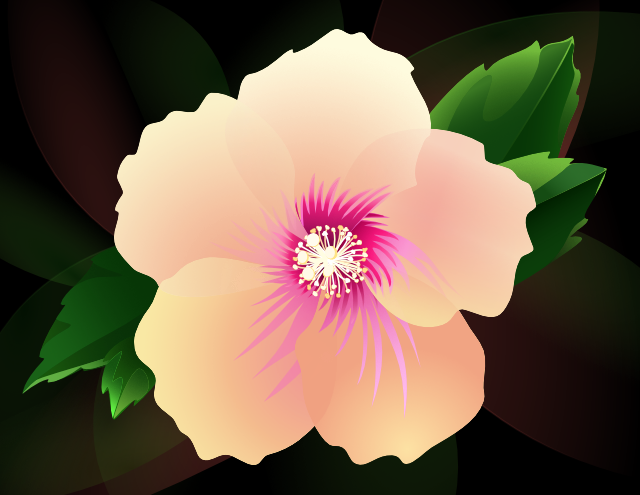
Vector illustration of a Hibiscus flower, using Affinity Designer. More »

Vector illustration of Godzilla created for the Oakton High School Marching Cougars 2018 show titled ‘Godzilla Eats Las Vegas!’. The illustration was used on a flyover flag as part of the show’s finale. More »
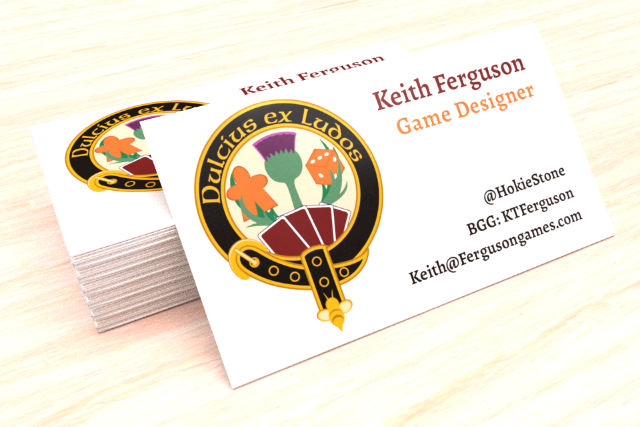
Ferguson Games designs table-top games. Their game Santa's Workshop was published in November 2017. They needed a logo and business card to promote their games at conventions. More »
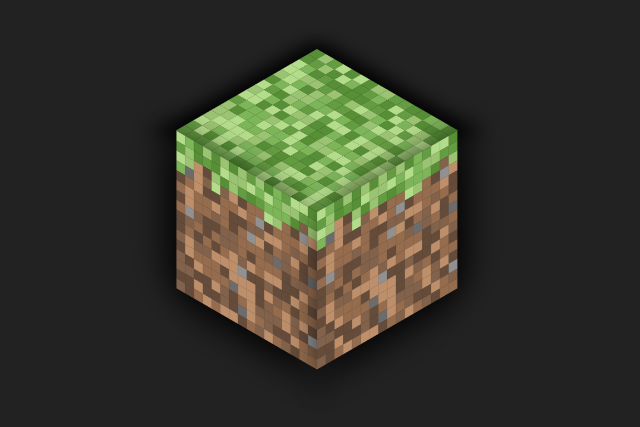
Generated Minecraft grass block using HTML (Haml) and CSS (SCSS) Grid. More »

An overview explaining what web hosting is, what is needed to host or publish a site, and some basic pointers on how to get set up. This started as a reference document I initially created for my web design students. More »

20+ years of doing and teaching web design and development gave me a lot to think about. Opinions were formed and soap boxes were built. I'd like to share those thoughts with you. More »

An animation commemorating the 9-11-2001 attacks. This was built as an exercise to recreate in SVG and SMIL a project originally created in Flash. More »
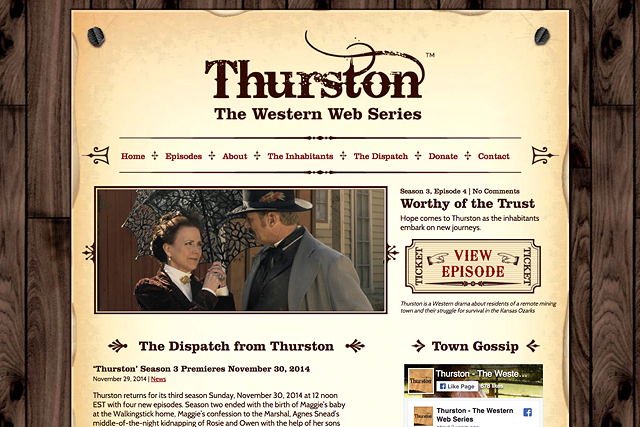
The little frontier town of Thurston, Arkansas comes alive in the 21st-century in Thurston Productions, LLC's Thurston: The Western Web Series. More »
View more on my blog.